Integrate with CodeBuddy
CodeBuddy is Tencent Cloud's AI-native IDE, available as an IDE, an IDE extension, and a CLI.
I. Prerequisites
Obtain your API Key from the LongCat Platform, and confirm on the Usage page that your account has sufficient token quota.
The LongCat API platform currently provides the following models:
| Model Name | API Format | Description |
|---|---|---|
| LongCat-2.5-Preview | OpenAI/Anthropic | High-performance agentic model |
| LongCat-2.0 | OpenAI/Anthropic | High-performance agentic model |
II. Using the CodeBuddy IDE
1. Install
Download and install from the CodeBuddy website. Supported on Windows and macOS.
2. Configure a custom model
Option A: Create or edit the config file models.json:
- macOS:
~/.codebuddy/models.json - Windows:
<user home>\.codebuddy\models.json
Write the following into the config file:
{
  "models": [
    {
      "id": "LongCat-2.5-Preview",
      "name": "LongCat-2.5-Preview",
      "vendor": "LongCat",
      "url": "https://api.longcat.chat/openai/v1/chat/completions",
      "apiKey": "LongCat API Key",
      "supportsToolCall": true,
      "supportsReasoning": true
    }
  ]
}
Option B: Configure the model in the IDE
- Open CodeBuddy IDE。
- Go to Settings or Preferences.
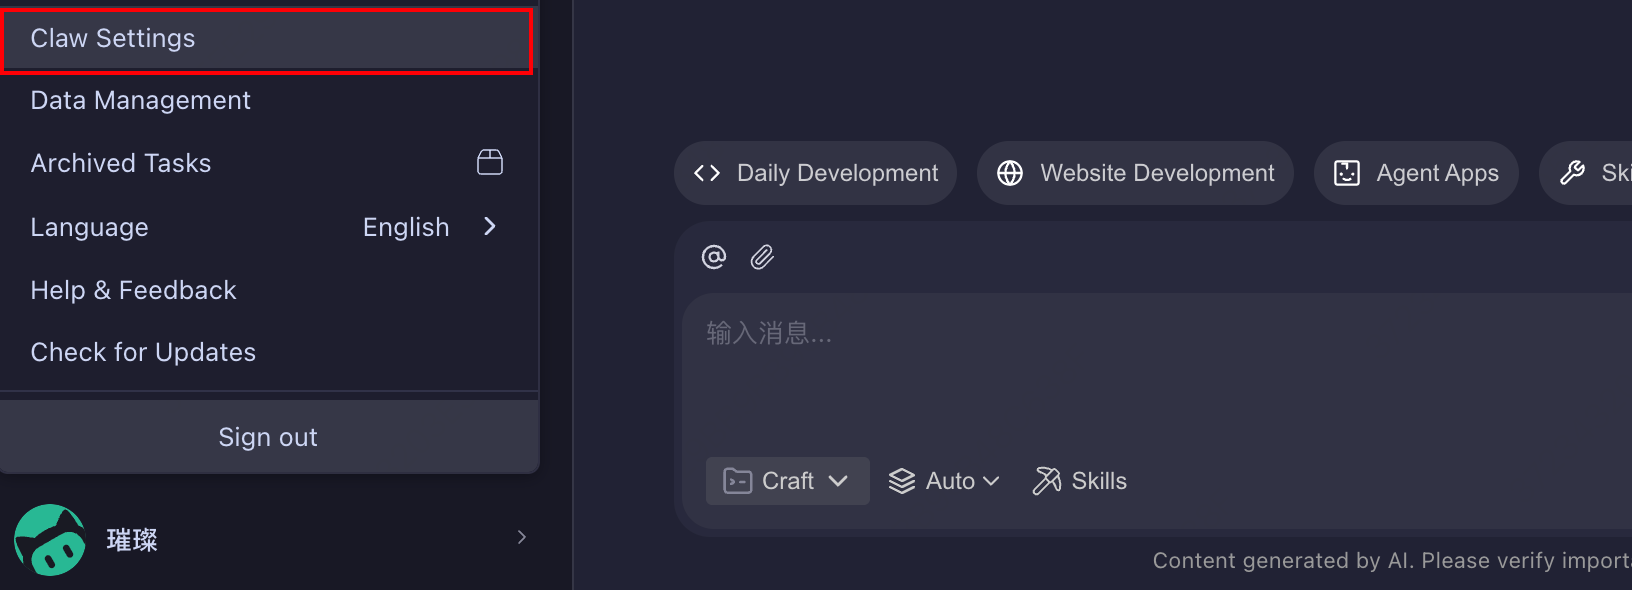
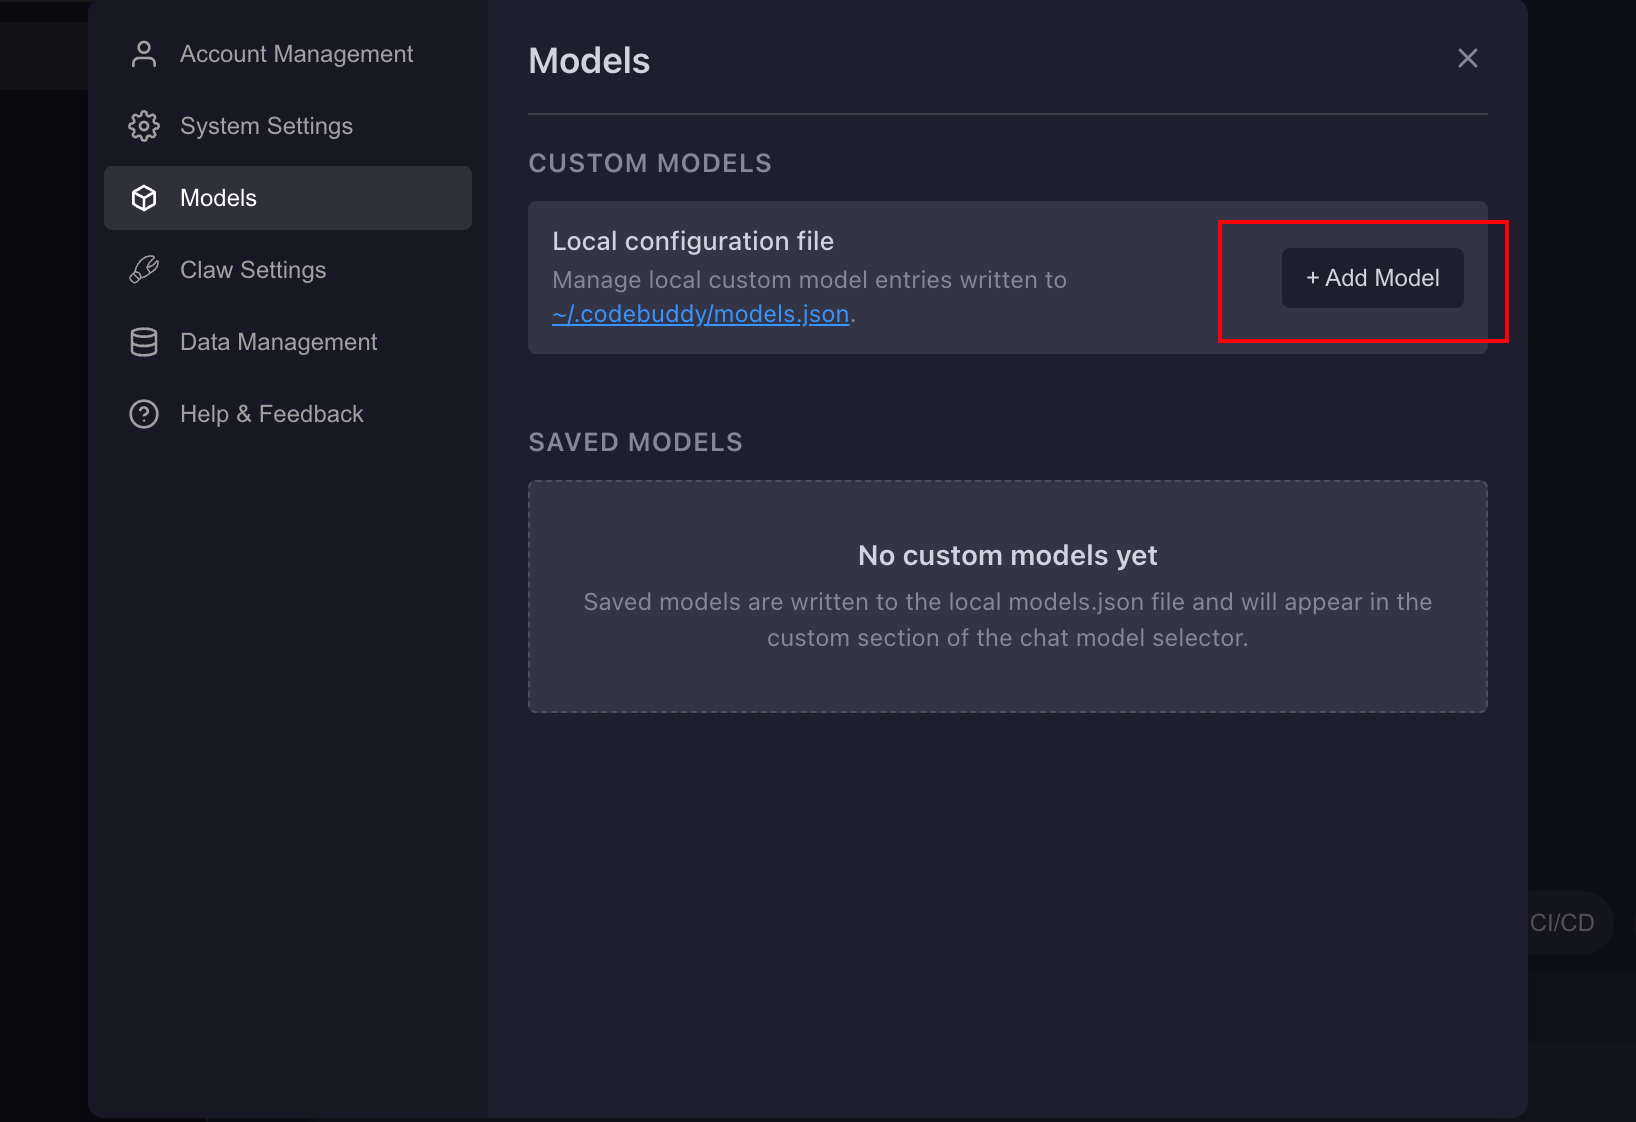
- Click
Add Model.
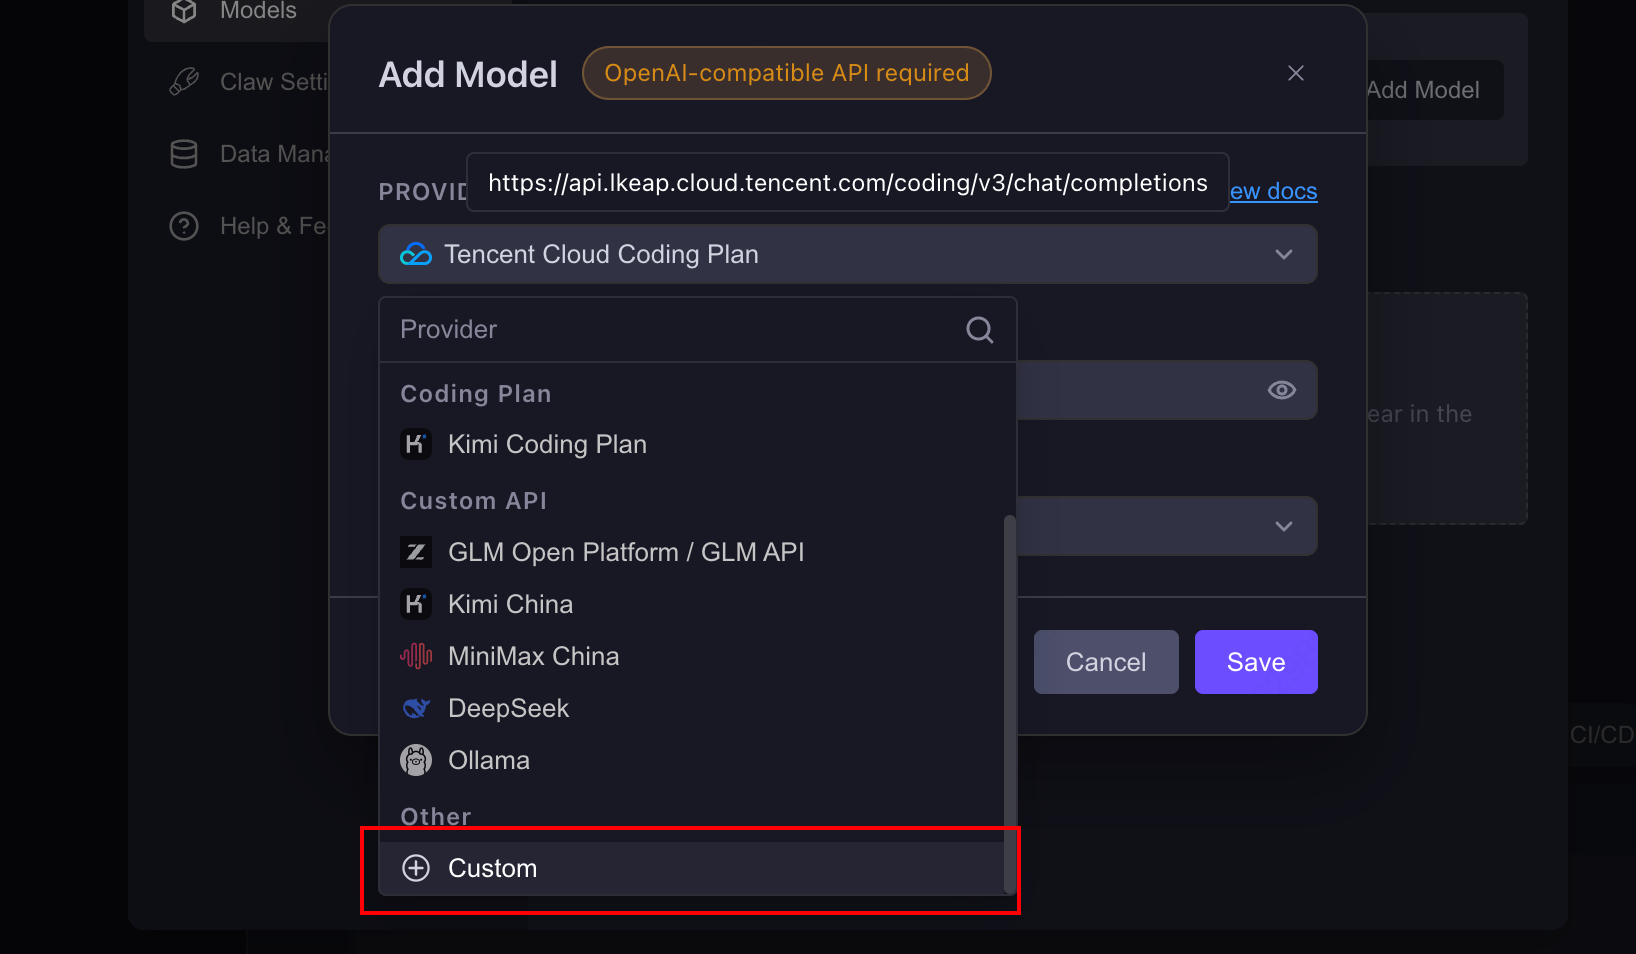
- Fill in the following:
- Model NAME:
LongCat-2.5-Preview - API Key: your LongCat API Key
- ENDPOINT:
https://api.longcat.chat/openai/v1/chat/completions
- Model NAME:
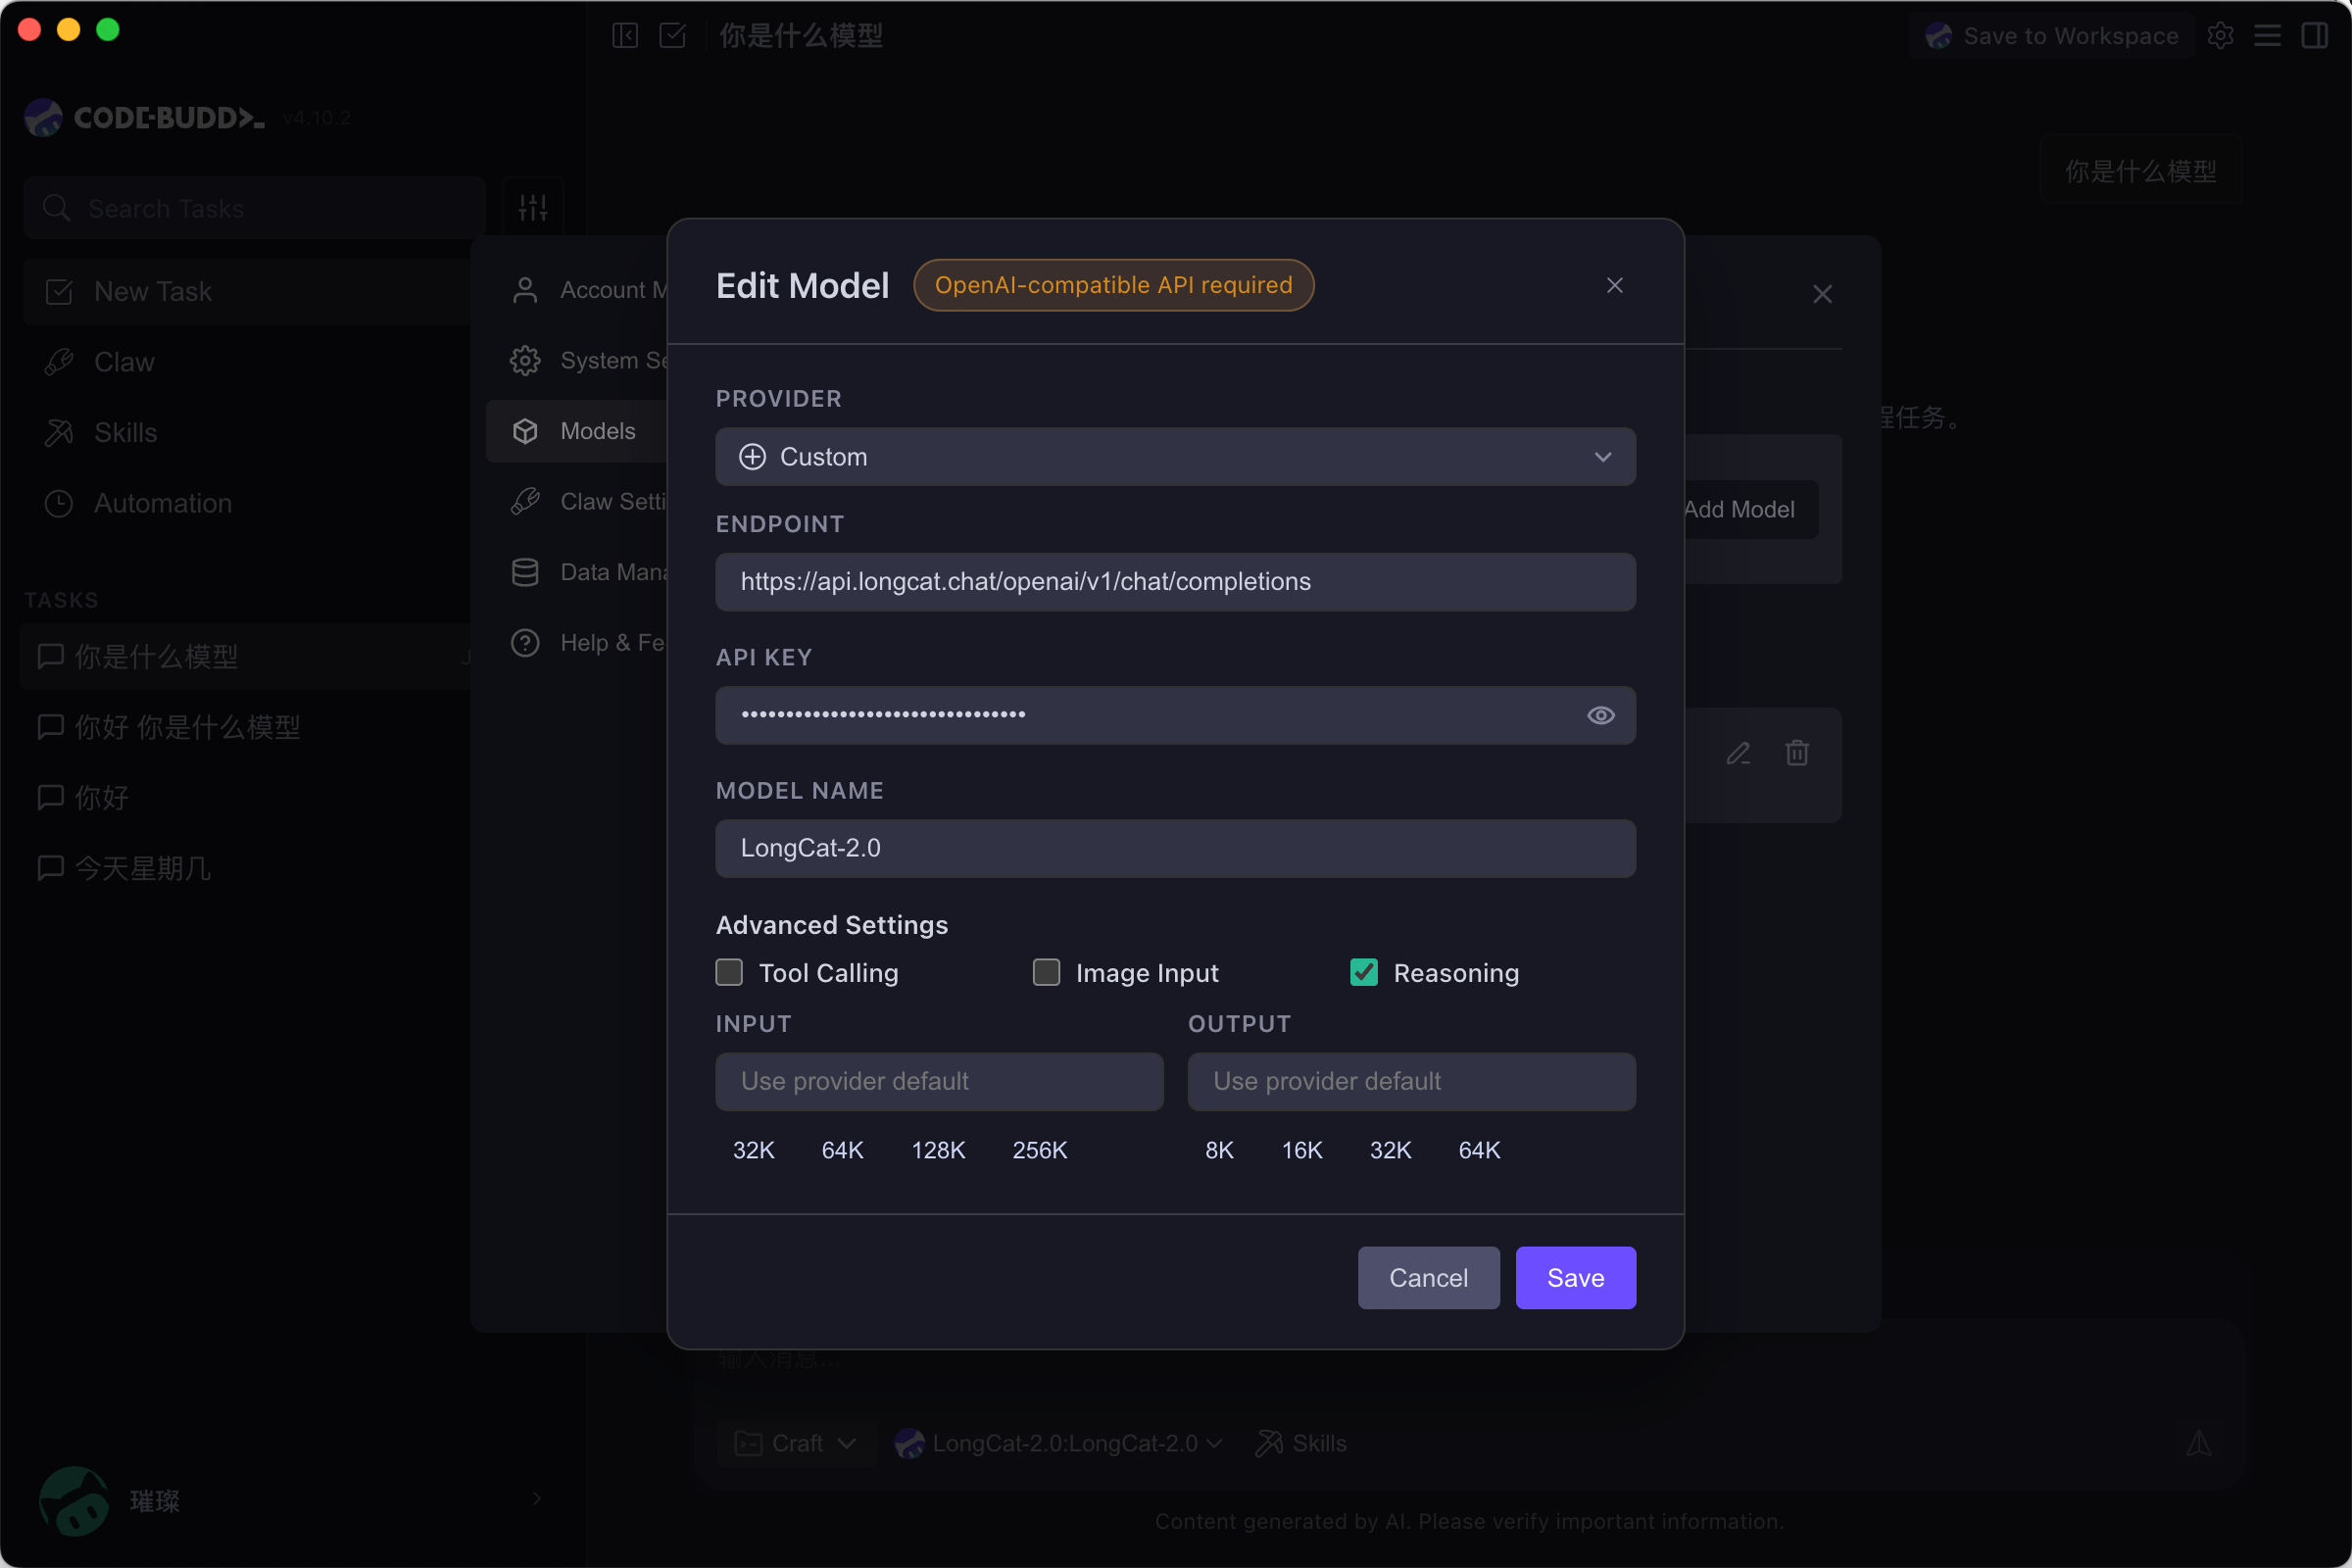
Get <Your LongCat API Key> from the LongCat Platform.
3. View and switch models
Once configured, turn off Auto mode and open the model list to see the configured LongCat model.
4. Use
Select the configured LongCat-2.5-Preview model to start chatting, coding, and more.
III. Using the CodeBuddy IDE Extension
- Install: search for
Tencent Cloud CodeBuddyin the VS Code Marketplace and install it. - Configure: same as the
models.jsonabove. If already configured, it is read automatically.
IV. Using the CodeBuddy CLI
1. Install (requires Node.js 18.20 or higher)
npm install -g @tencent-ai/codebuddy-codeRun the following command to verify the installation.
codebuddy --version2. Configure the model
Same as the models.json above; if already configured, it is read automatically.
3. Use
Enter your project directory and launch:
codebuddyAfter launch: use /model to view or switch models, and /status to view the current model.
V. FAQ
The model doesn't appear in the dropdown after configuration?
- Check that the JSON syntax is correct.
- If you set the
availableModelsfield, make sure the model id is included.